Creating in Confinement
What does creating a campaign look like in isolation?
- Text: Article One & Austin Hermann
- Photo: Austin Hermann
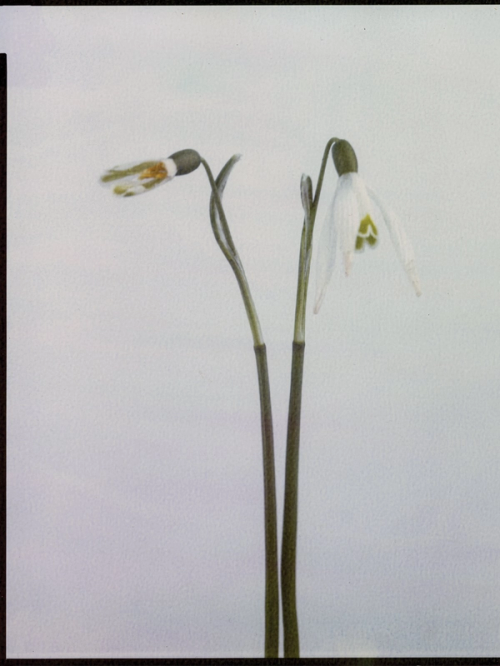
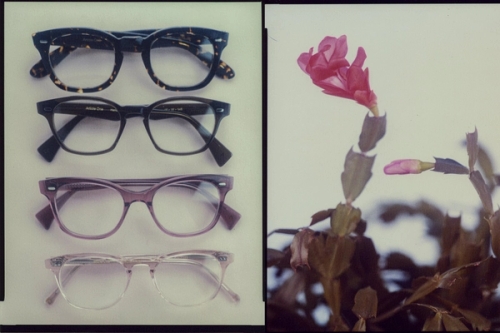
Creating imagery to accompany a new release typically means working with multiple people in pre-production, multiple people on set, and multiple people in development. What does a campaign look like when developed from start to finish, on film, by one person? Incredibly manual, very time-consuming, and momentarily peaceful.
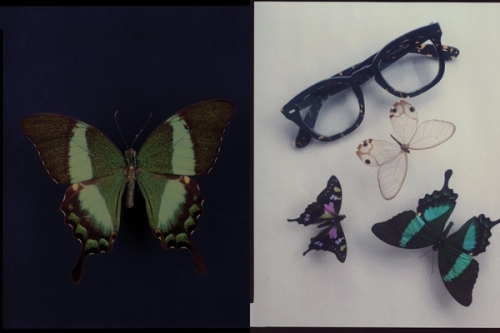
I'm fortunate enough to be isolated to a 4,800 sq ft plot of dirt with a home to keep my mind active. Maggie and I were working on something when the virus hit and despite most of the world stopping I am still able to continue generating images.
I've found a lot of solace working on these and I hope learning about the process gives you some momentary peace as well.
Step 1: Finding Specimens
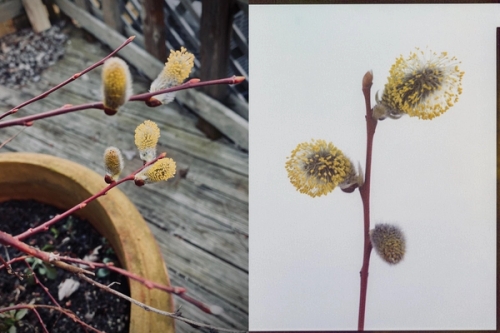
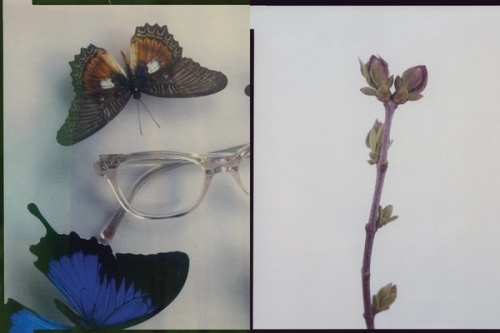
Spring is here, cold snaps and all, a lot of the native flora is beginning to bud. I wander around my backyard looking for a nice stick to snip off. Many clippings can be forced to open by just sticking them in some water + sugar.
Step 2: Arrange
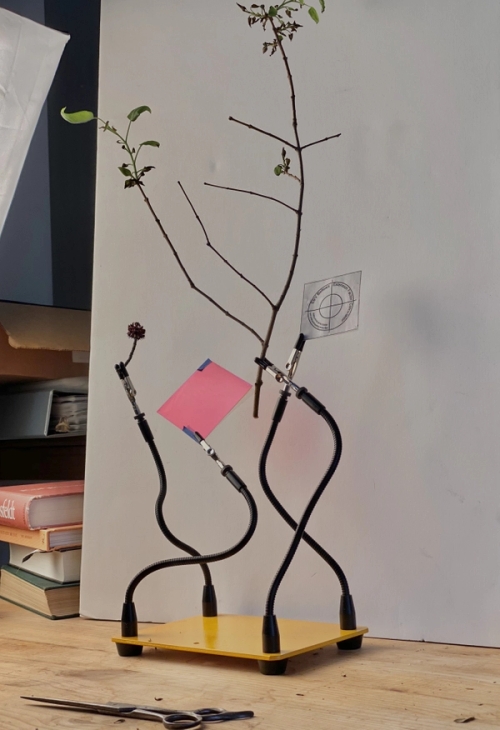
Finding the best way to hold the clippings is difficult. I've got these "octopus" tentacles that clip and hold. Since a lot of the specimens I shoot are around 1" in size, holding them firmly in place is extremely important.
Step 3: Focus / Composition
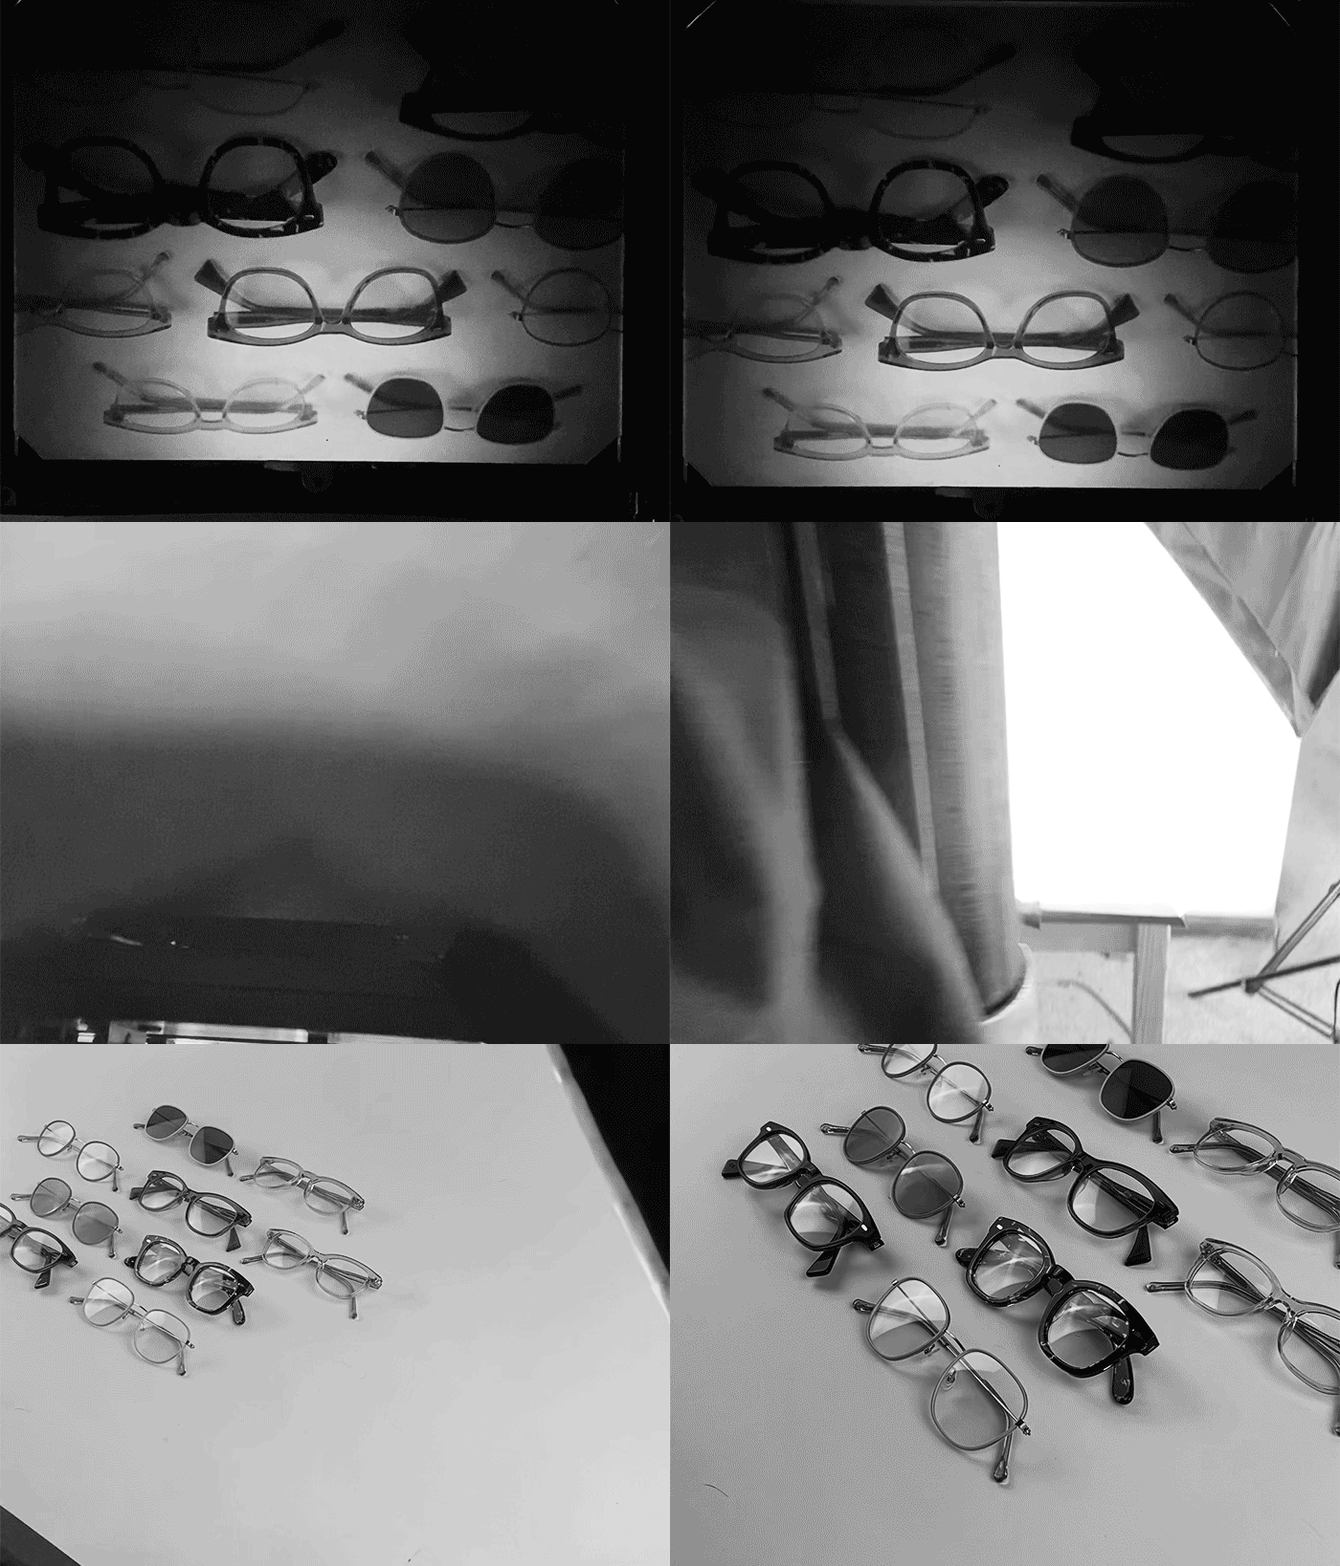
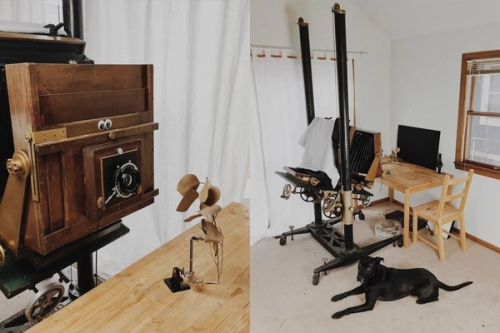
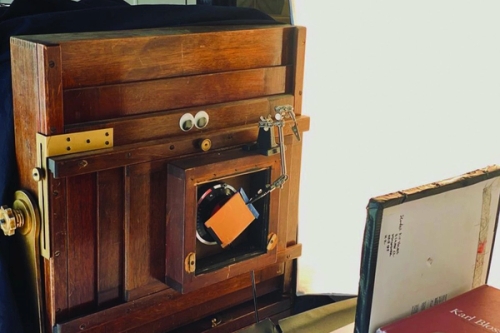
Camera time! This is a Deardorff 11x14 camera on a 600lb 8ft stand. It's large size allows extreme magnification as well as high resolution.
Focusing is achieved with these large gold knobs and the stand allows me to adjust the composition while I view through the rear plate at the ground glass.
Step 4: Filtration / Lights / Metering / Calculations
The film I use is sensitive to a specific wavelength of light so I have to use a combination of front of lens filtering and tungsten lights.
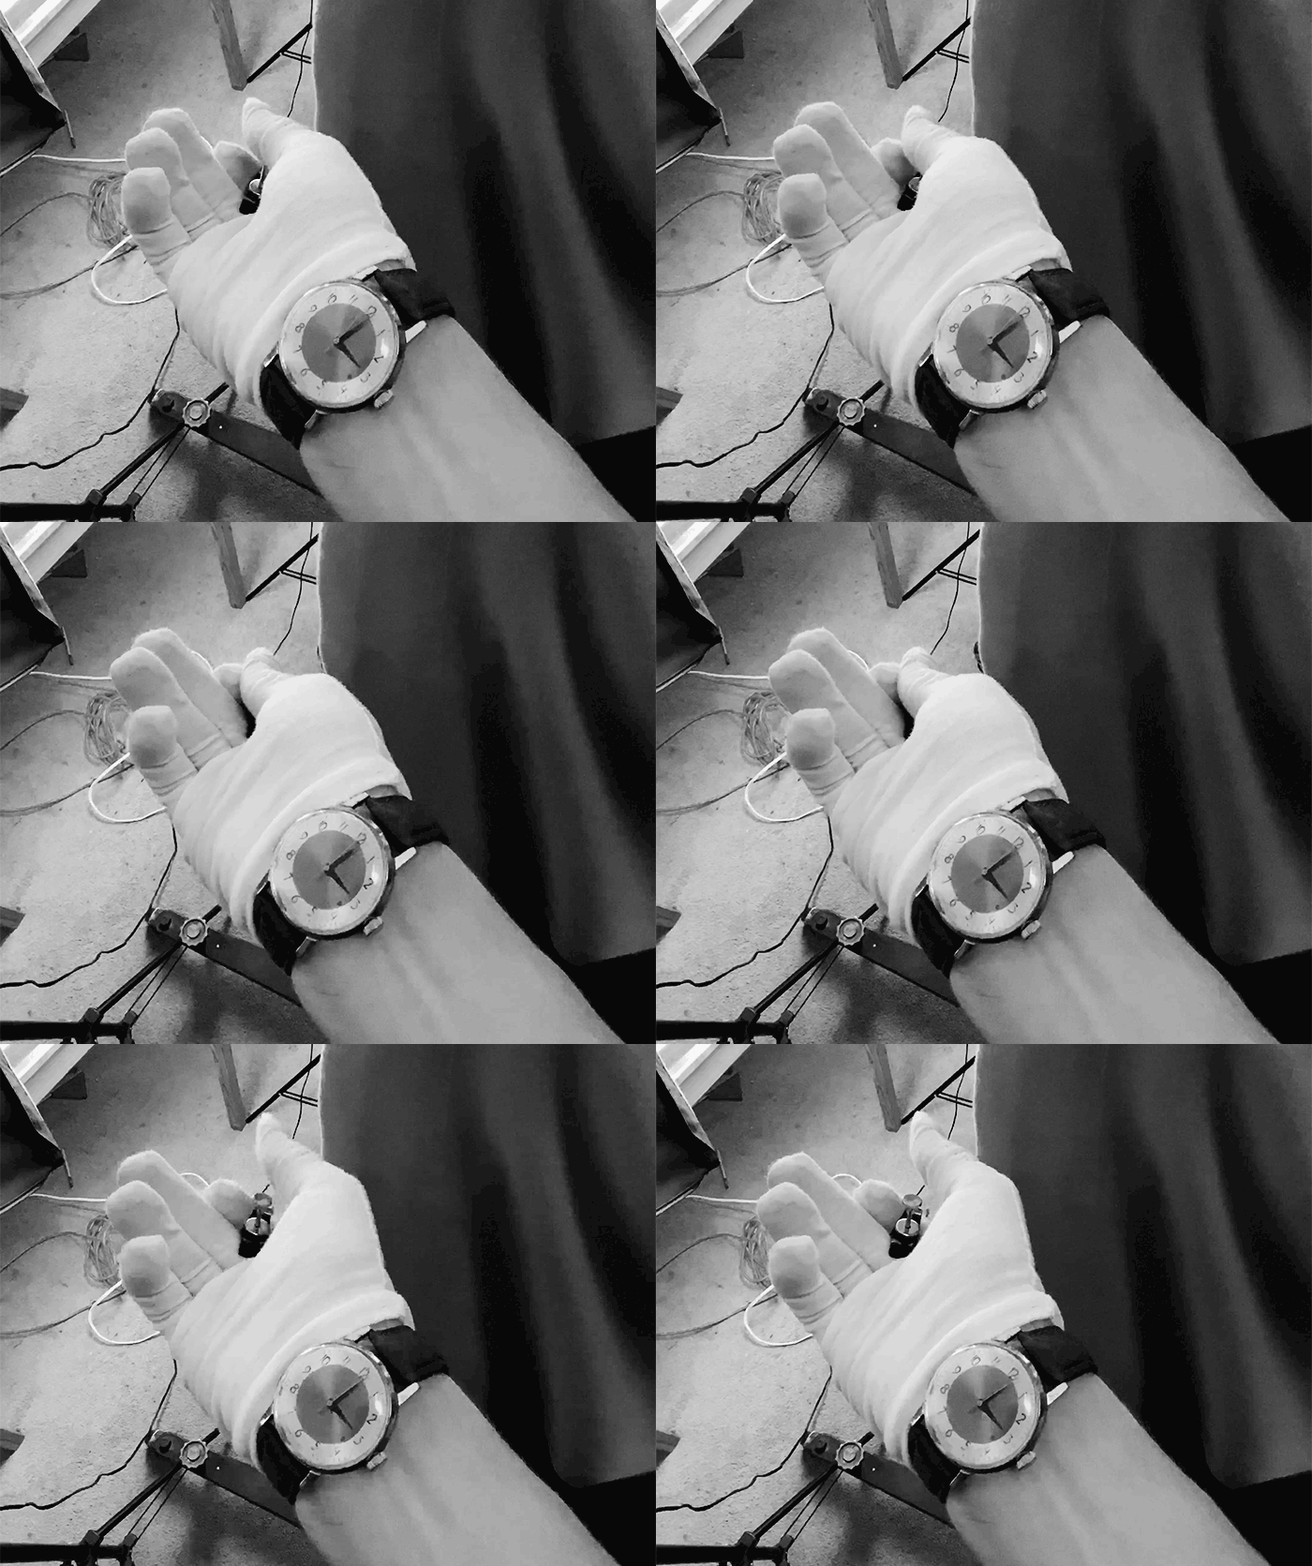
There's an unfortunate amount of math for a college drop out to do next. I take a reading with my light meter and then have to run that value through a few equations to get proper exposure.
Photons lose their energy as they travel through space. When the camera is large enough that the light entering the lens has to travel a significant distance to reach the film, exponential compensation is needed.
At the end of some double checking I end up with a time value based on all my factors, usually 15 - 30 seconds in length.
STEP 5: Load Holders / Shoot
The film is loaded (in total darkness) into special holders that allow me to transport it between the studio and the darkroom in my basement.
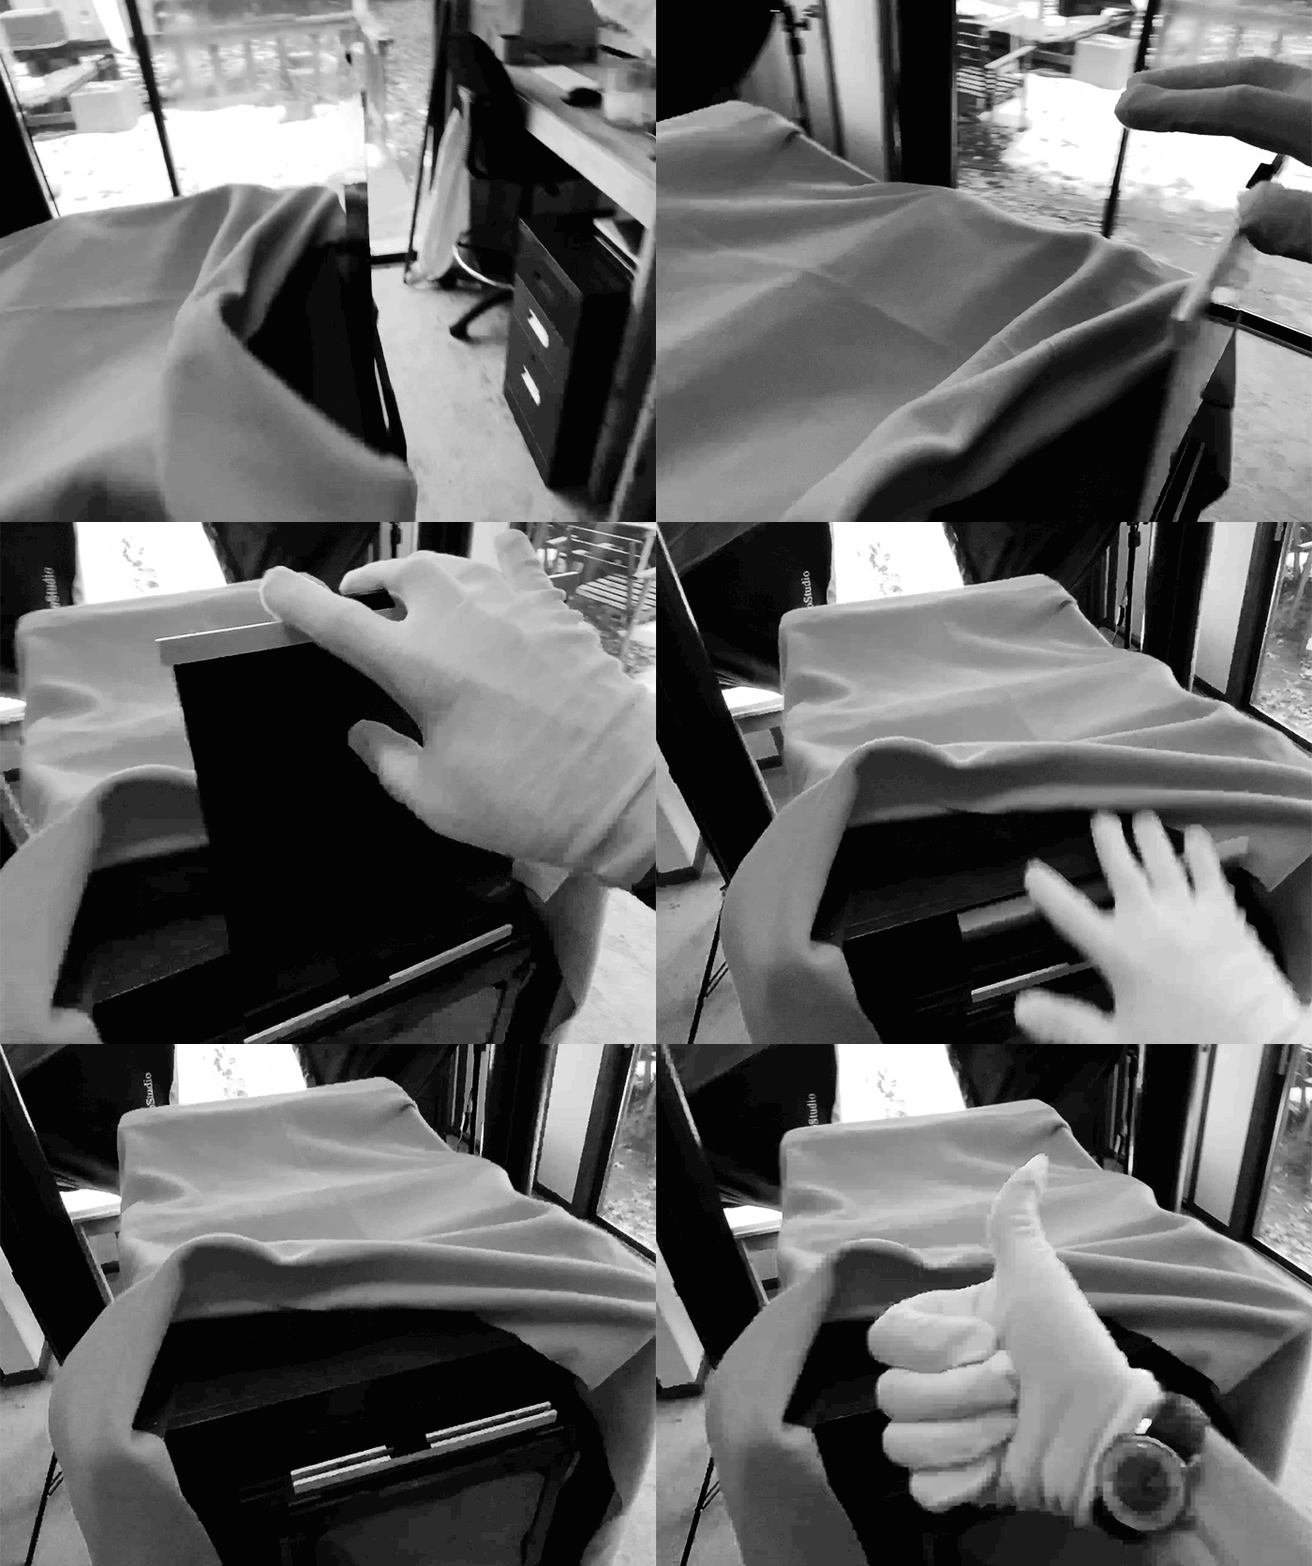
Film holder goes into the camera, dark slide comes up to expose the paper and I release the shutter with a long cable to begin counting my exposure.
Close the shutter and seal the dark slide; picture taken!
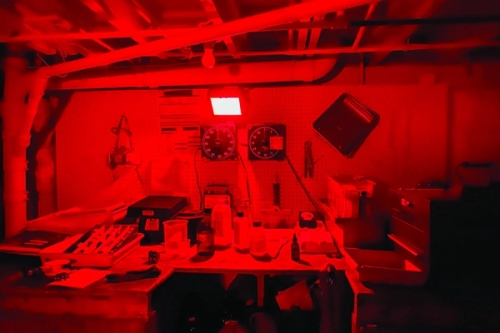
A note on my chemical process:
The process I use was built off of Edwin Land's formula for making polaroids. I wanted a color positive wet process that uses affordable chemistry and contemporary supplies.
A lot of the prepackaged home lab chemical stuff is long gone thanks to digital but you can still purchase the basic elemental building blocks for a darkroom and make your own.
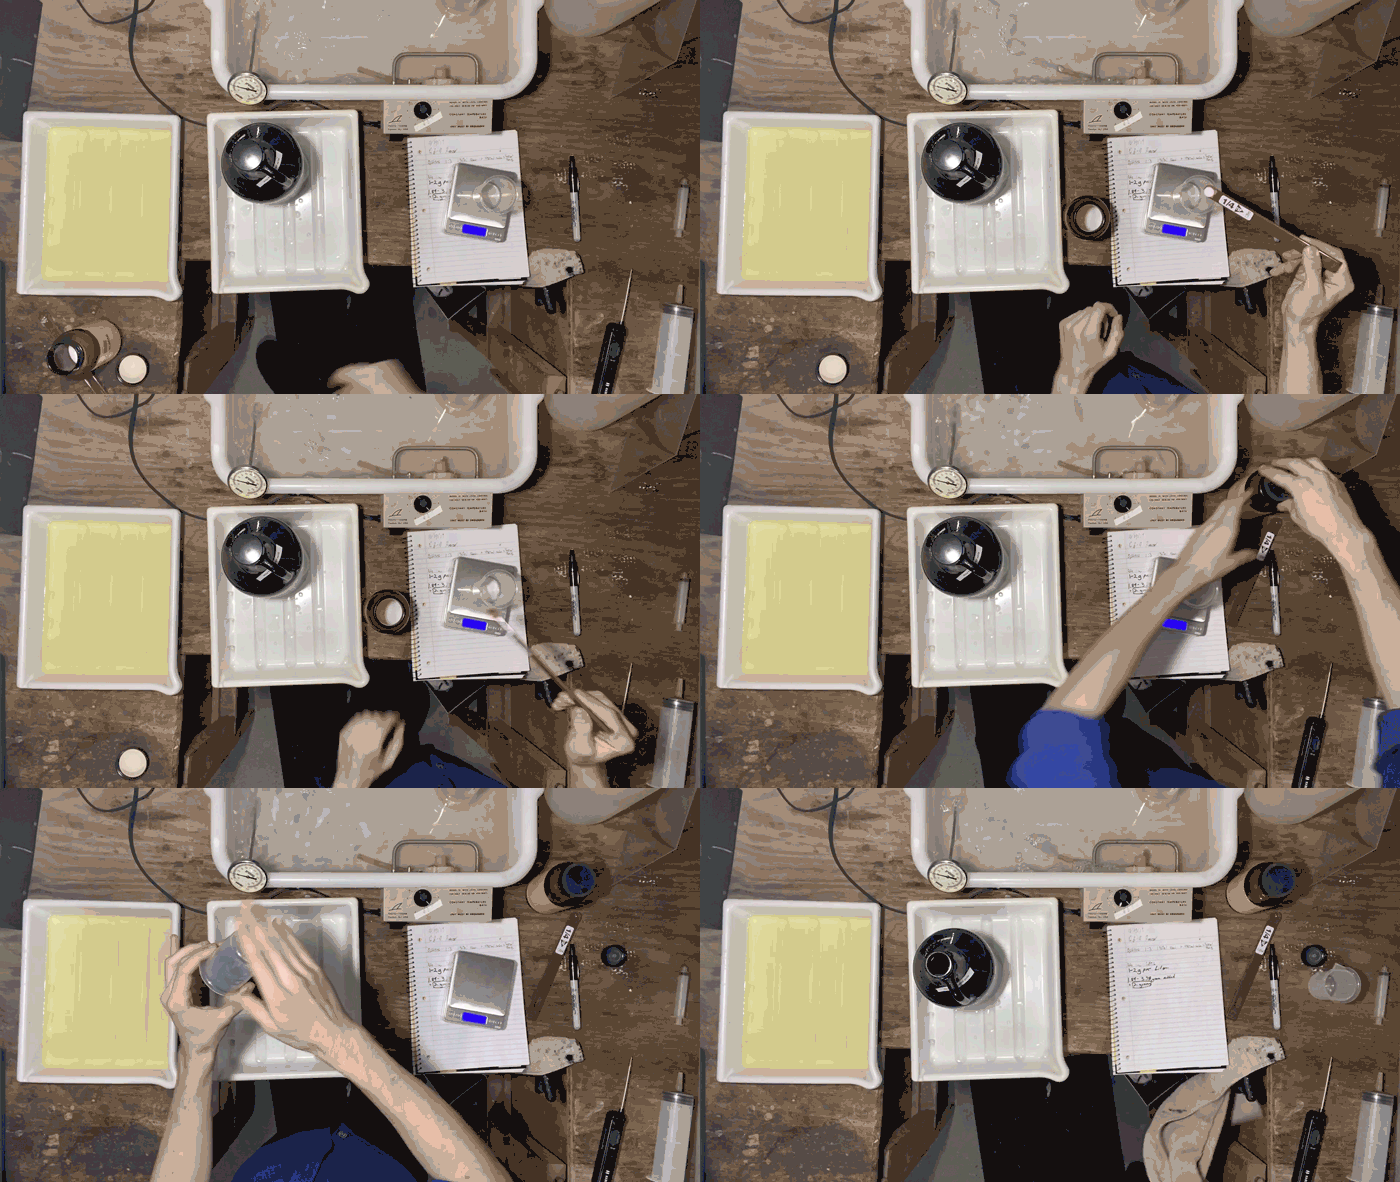
Anyways my process uses a 3 Step Chemical Bath
- Develop A - Black and White Developer
- Develop B - Color RA4 Developer
- Bleach + Fixer Color BLIX
After the first developer the film has to be exposed to room light and the rest of the process can be done with the lights on.
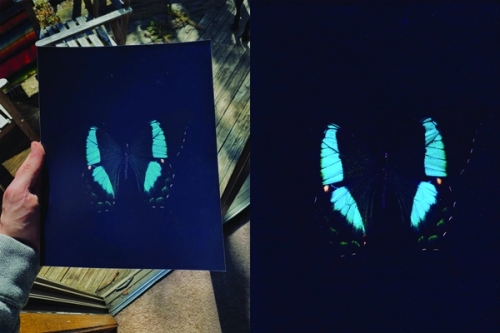
Which is fun because you get to see the magic moment as the papers colors come to life.
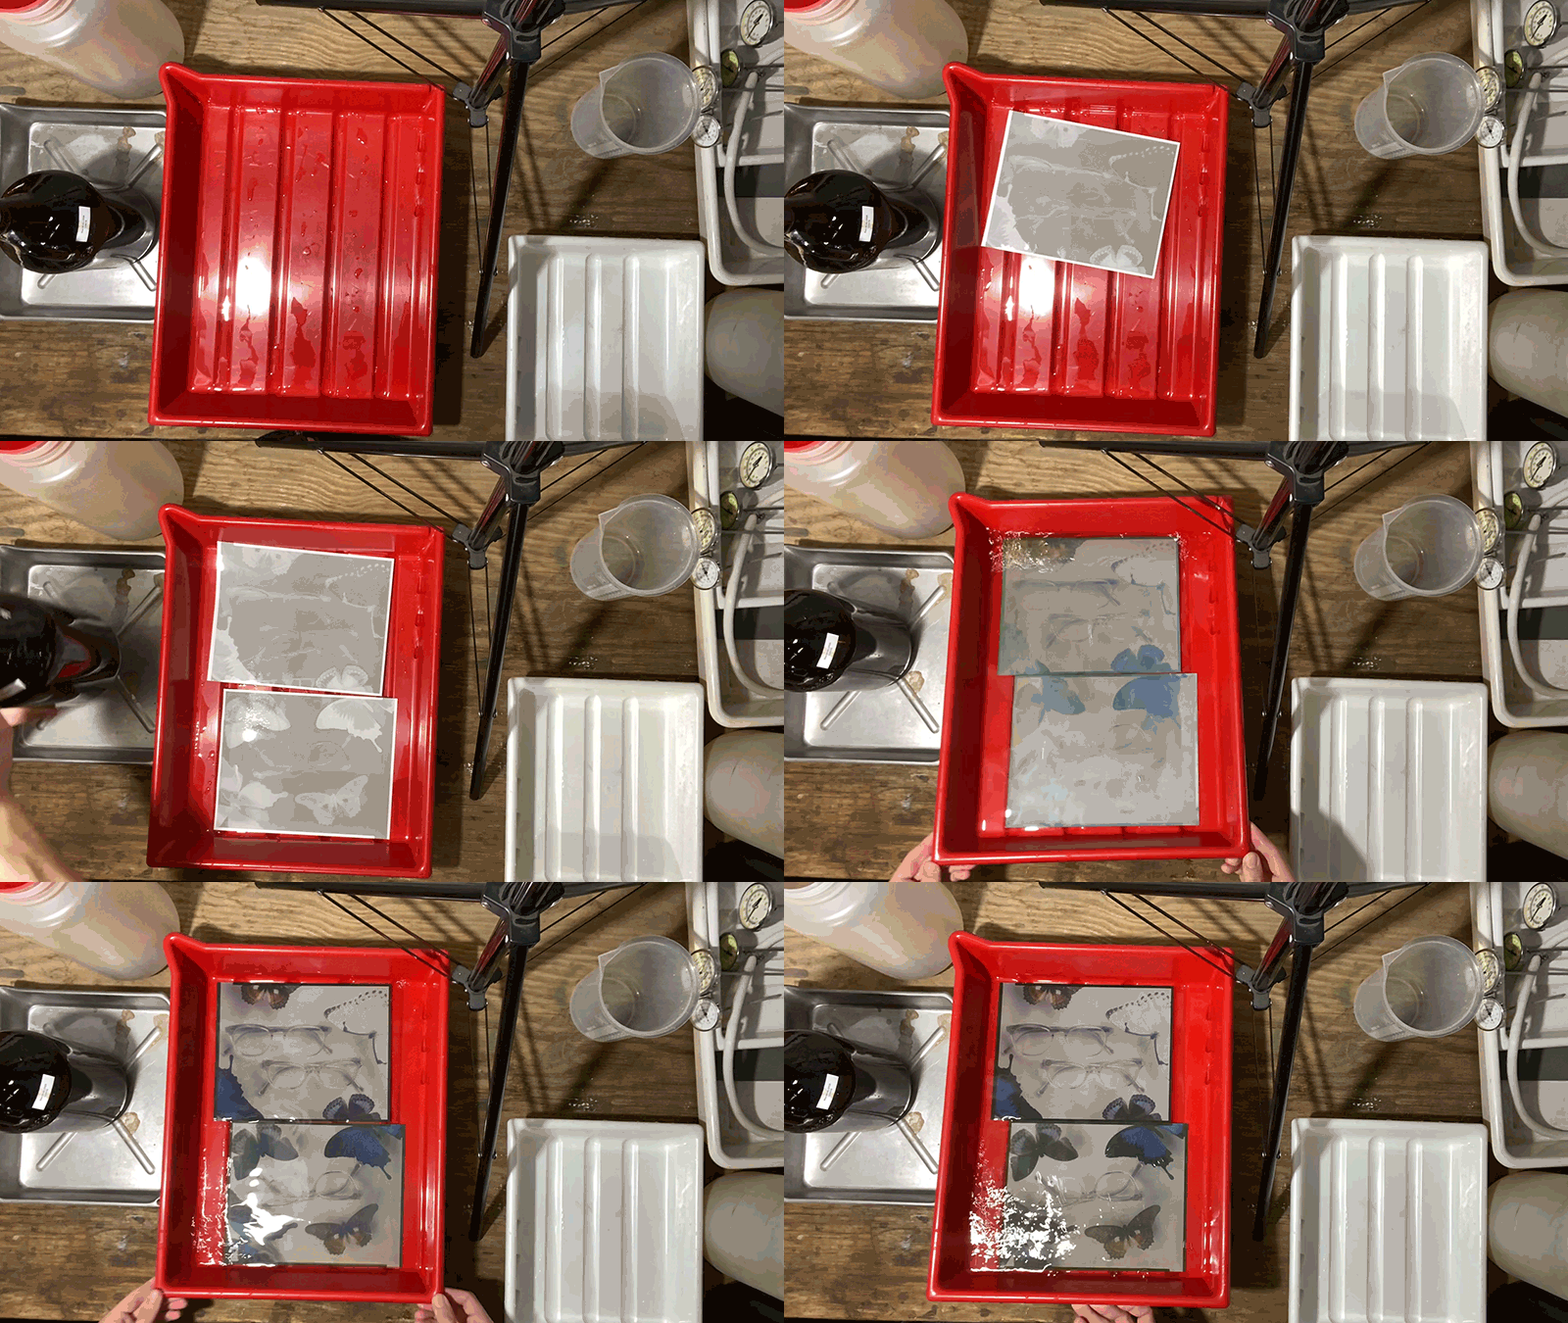
Step 7: Review + Repeat
After a quick wash to rid the paper of lingering chemistry its time to evaluate and view the print in daylight. Repeat steps till you can hug people again.
